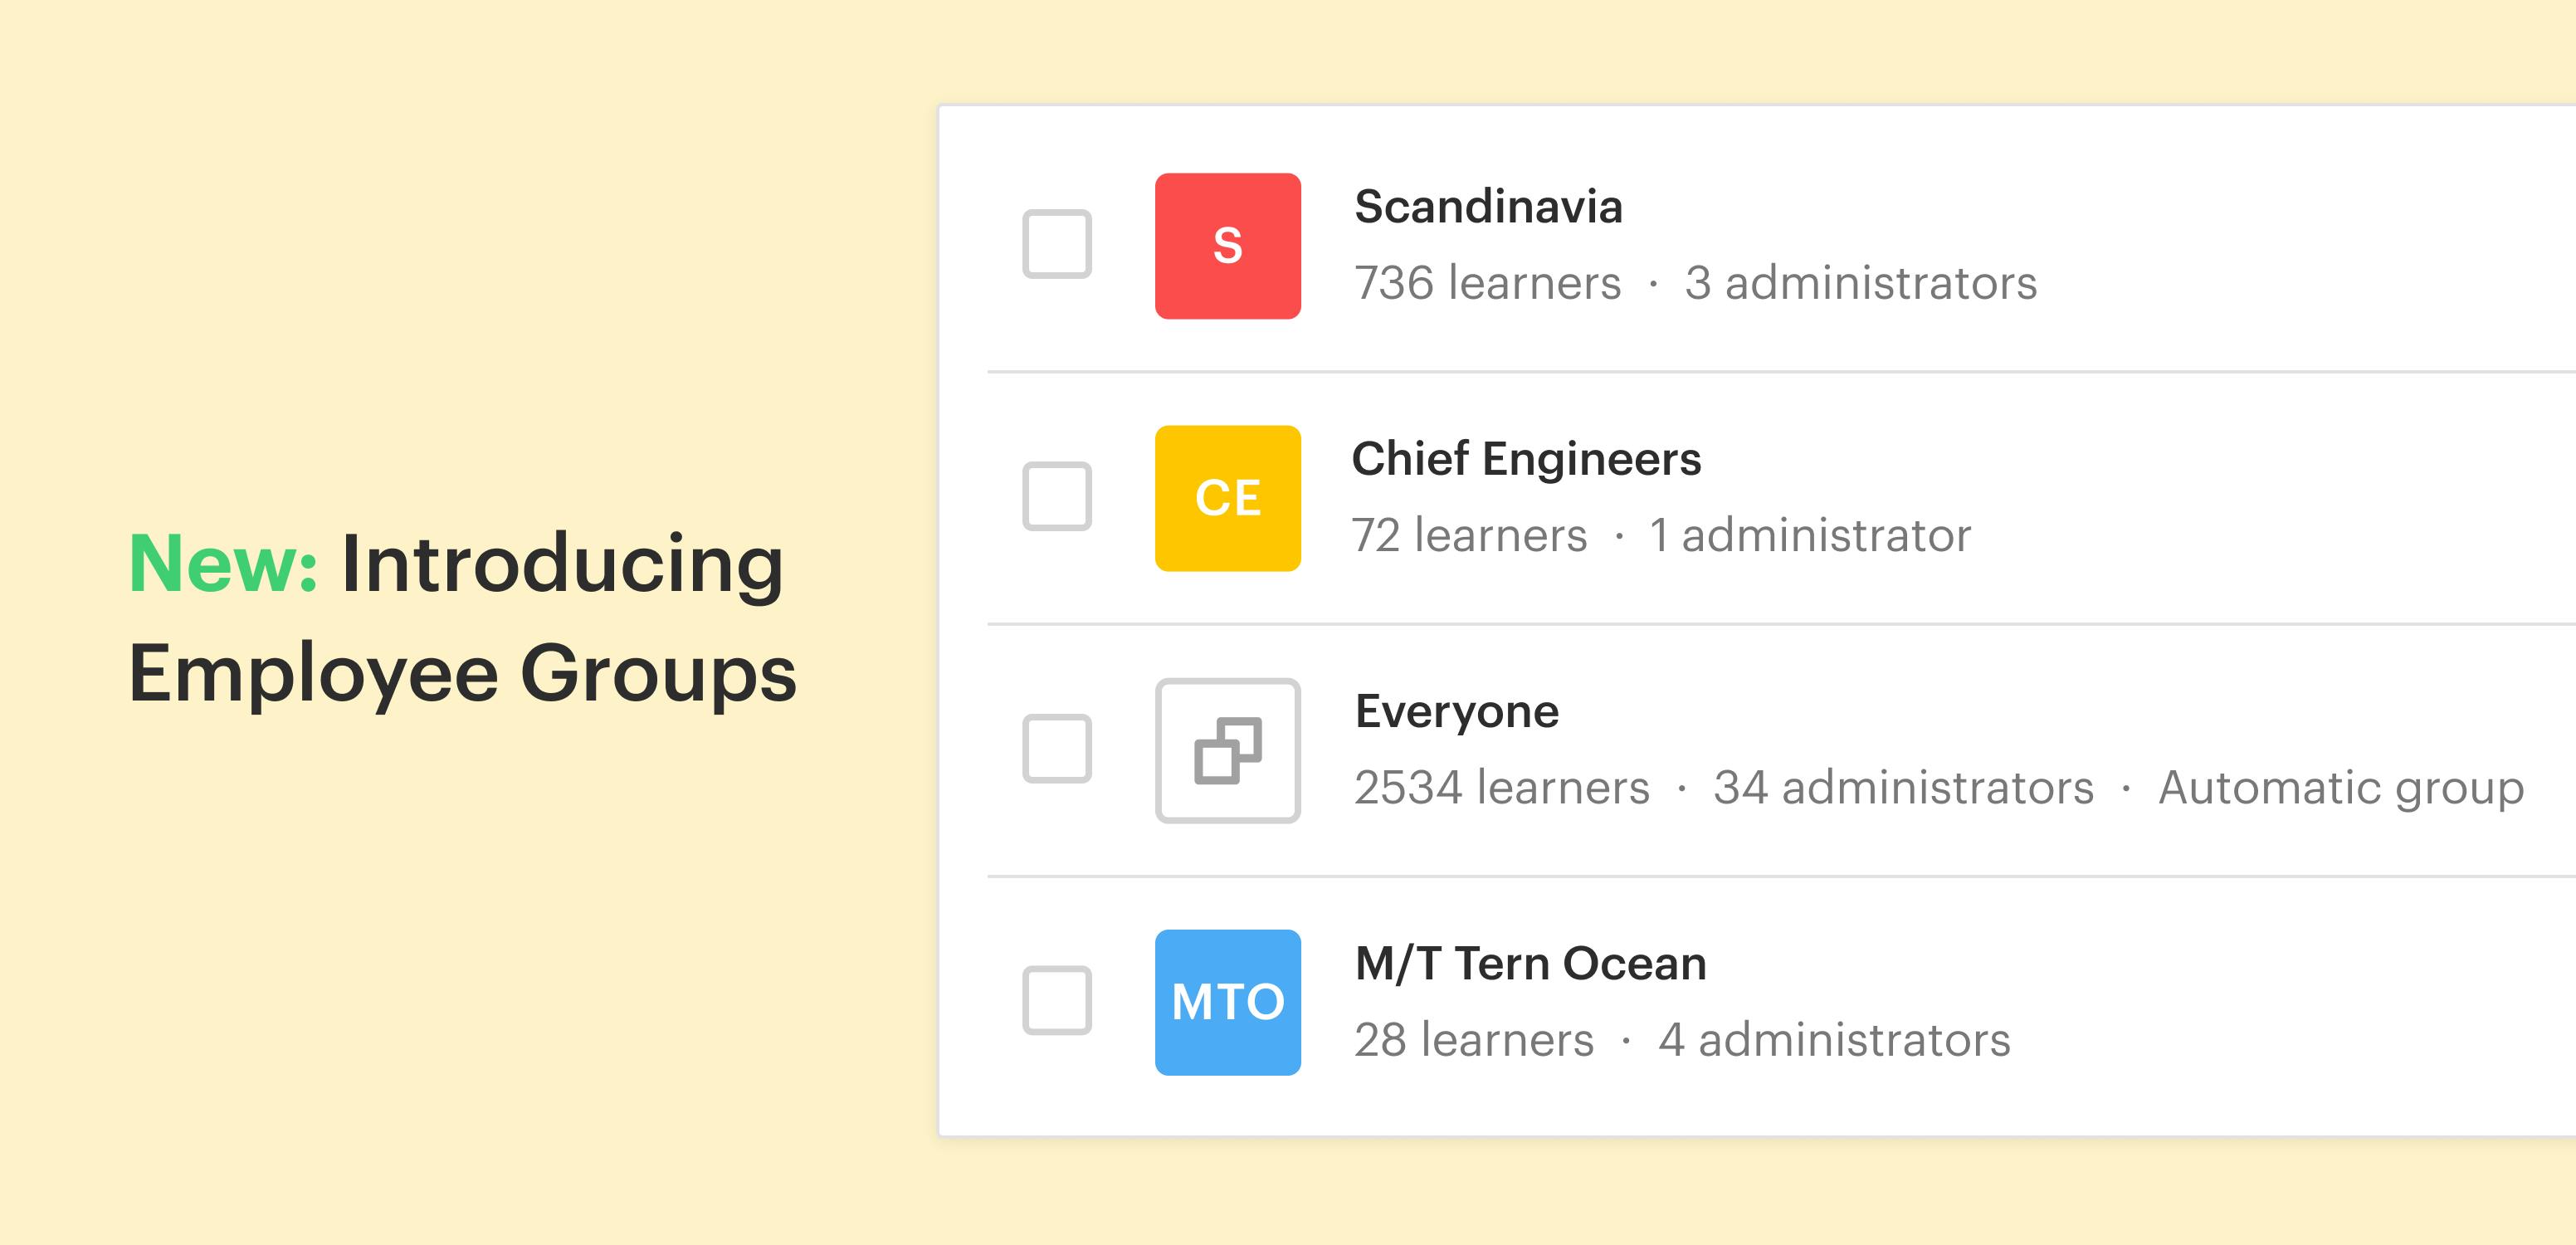
Groups are a great way to organize your employees. A group is a subset of your employees with a nominated administrator meaning the administrator can only see the employees in the group.
The admin will have access to all the administrative features of Seably but will only be to apply them to the employees in their group. An individual can be the admin of more than one group.
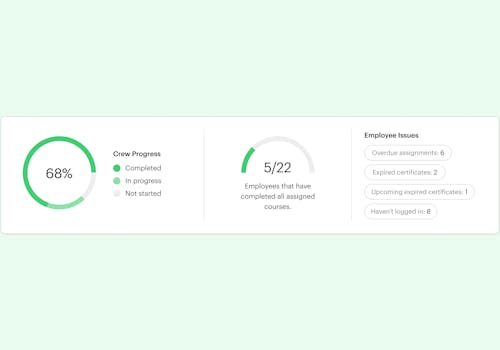
For example, the crew on a vessel could be created as a Group, with the Captain of the vessel as the Group Administrator. The Captain will only be able to see the crew in the group engage with Seably, not the rest of the company.
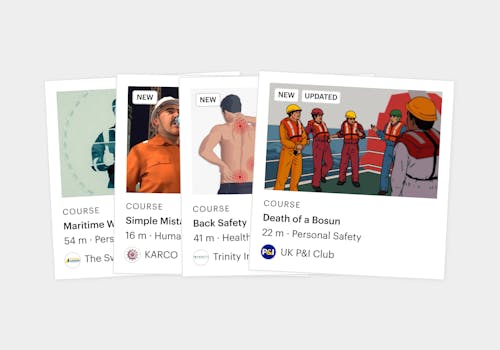
The Captain will be able to monitor the training journey of learners in the Group and allocate new courses to the Group. This means the Captain can quickly and easily address any challenges on board by allocating the relevant courses to individuals in the Group or to the whole Group.
Another example might be to create a Group for a rank so that you can allocate courses specific to that role all at once.
The key to creating Groups seamlessly is to get the right data in the system for each employee. Once this is done, Groups can be created by rank, vessel, position, department, location or any desired criteria.
So, how do I set up a Group?
Before you set up a Group, it's important to understand the users you wish to group together.
You may be looking to group all your Deck Operations personnel so you could create a Group titled ‘Deck Operations’. We will use this as an example.
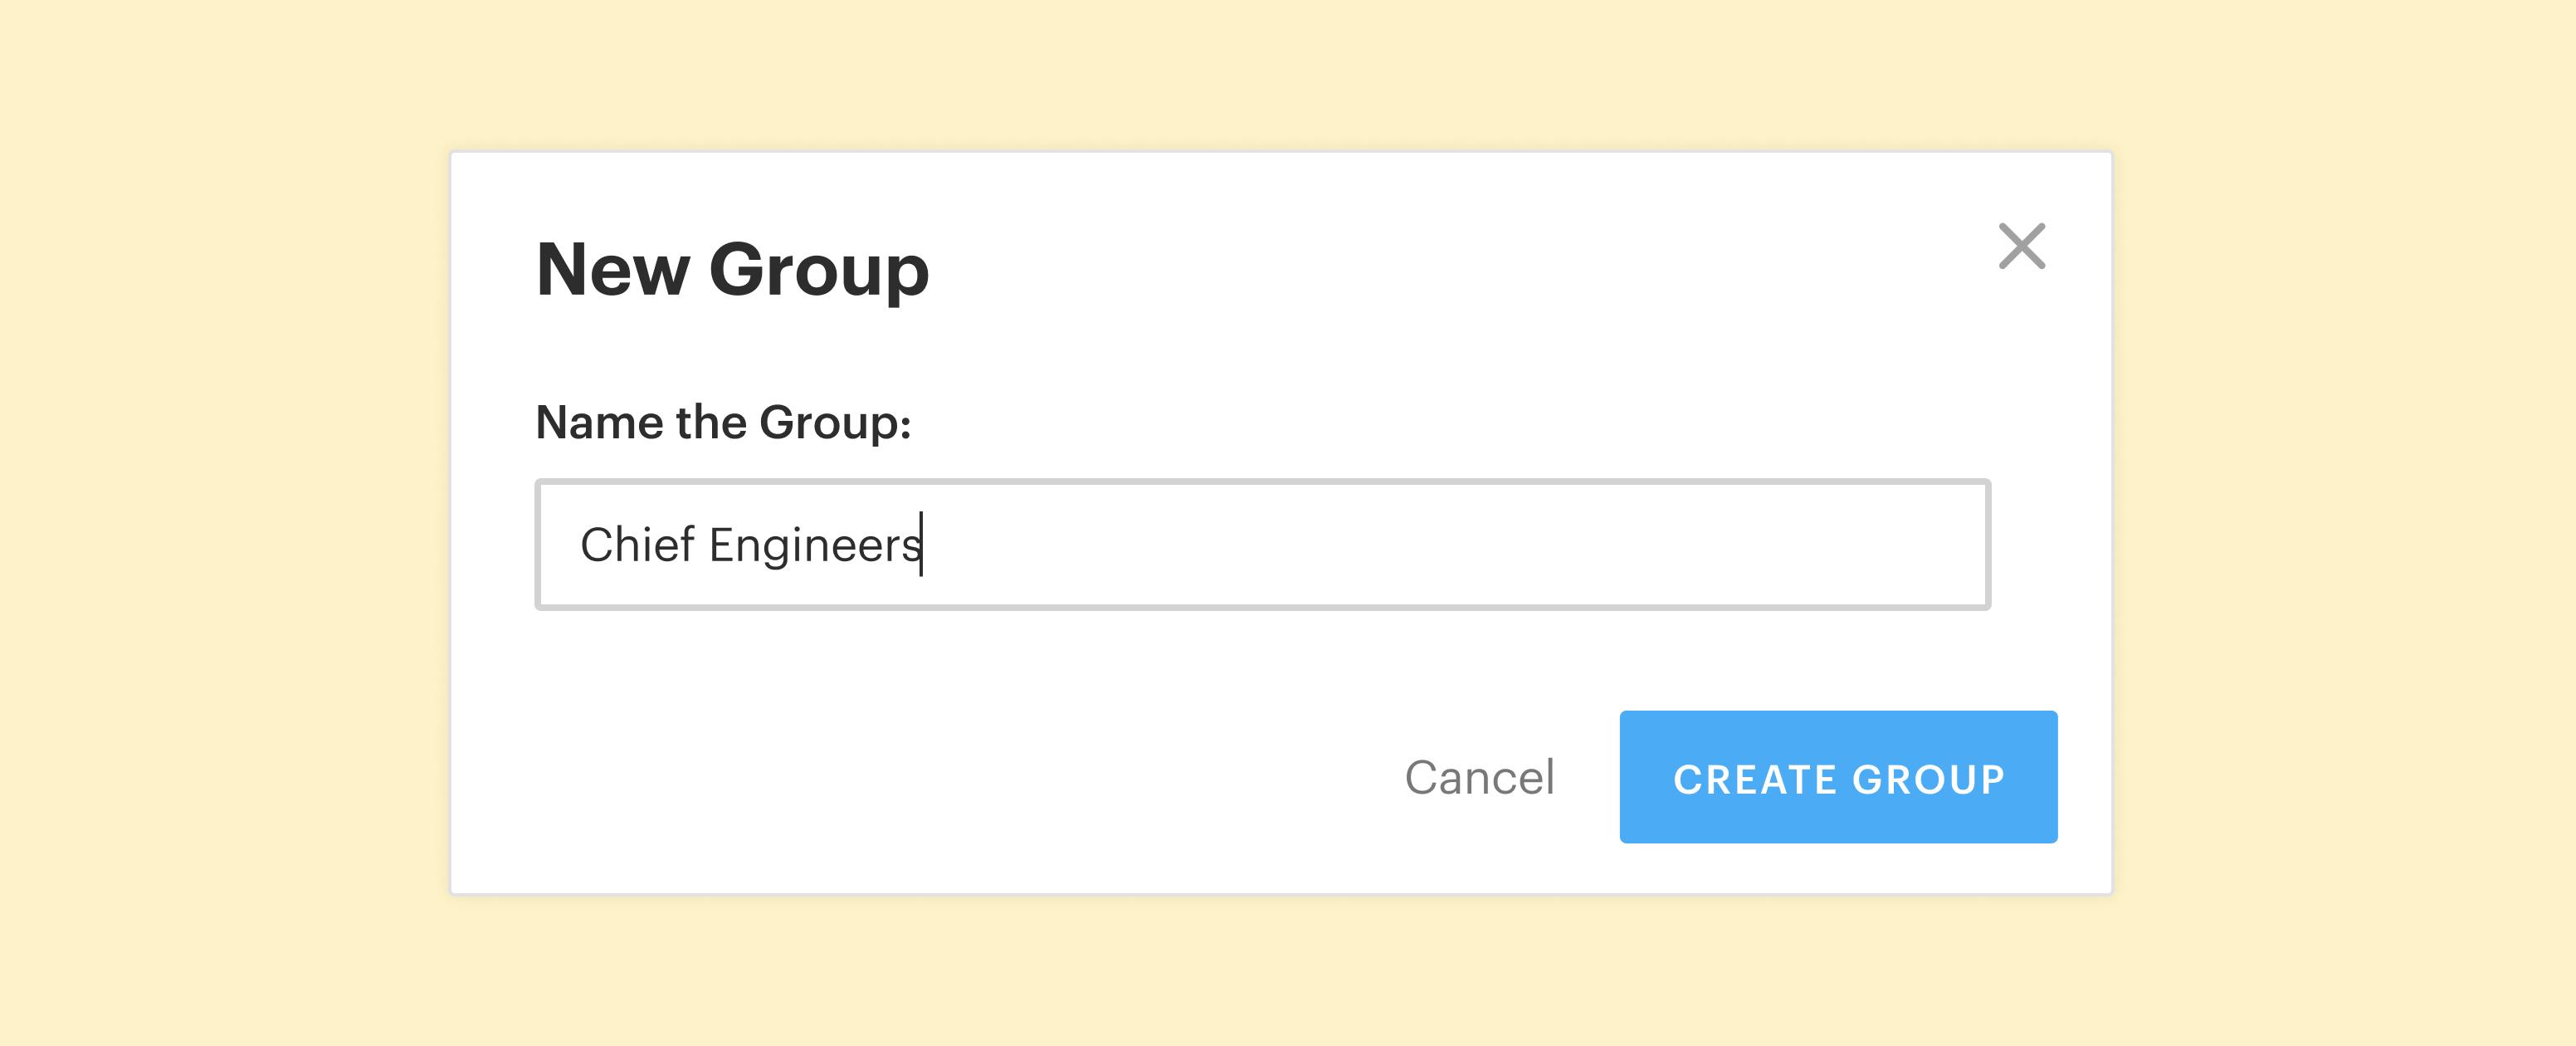
1. Under Employees, click on ‘Groups’ and then ‘New Group’. At this point, you will give your Group a relevant name. For this example, we will call it Chief Engineers.
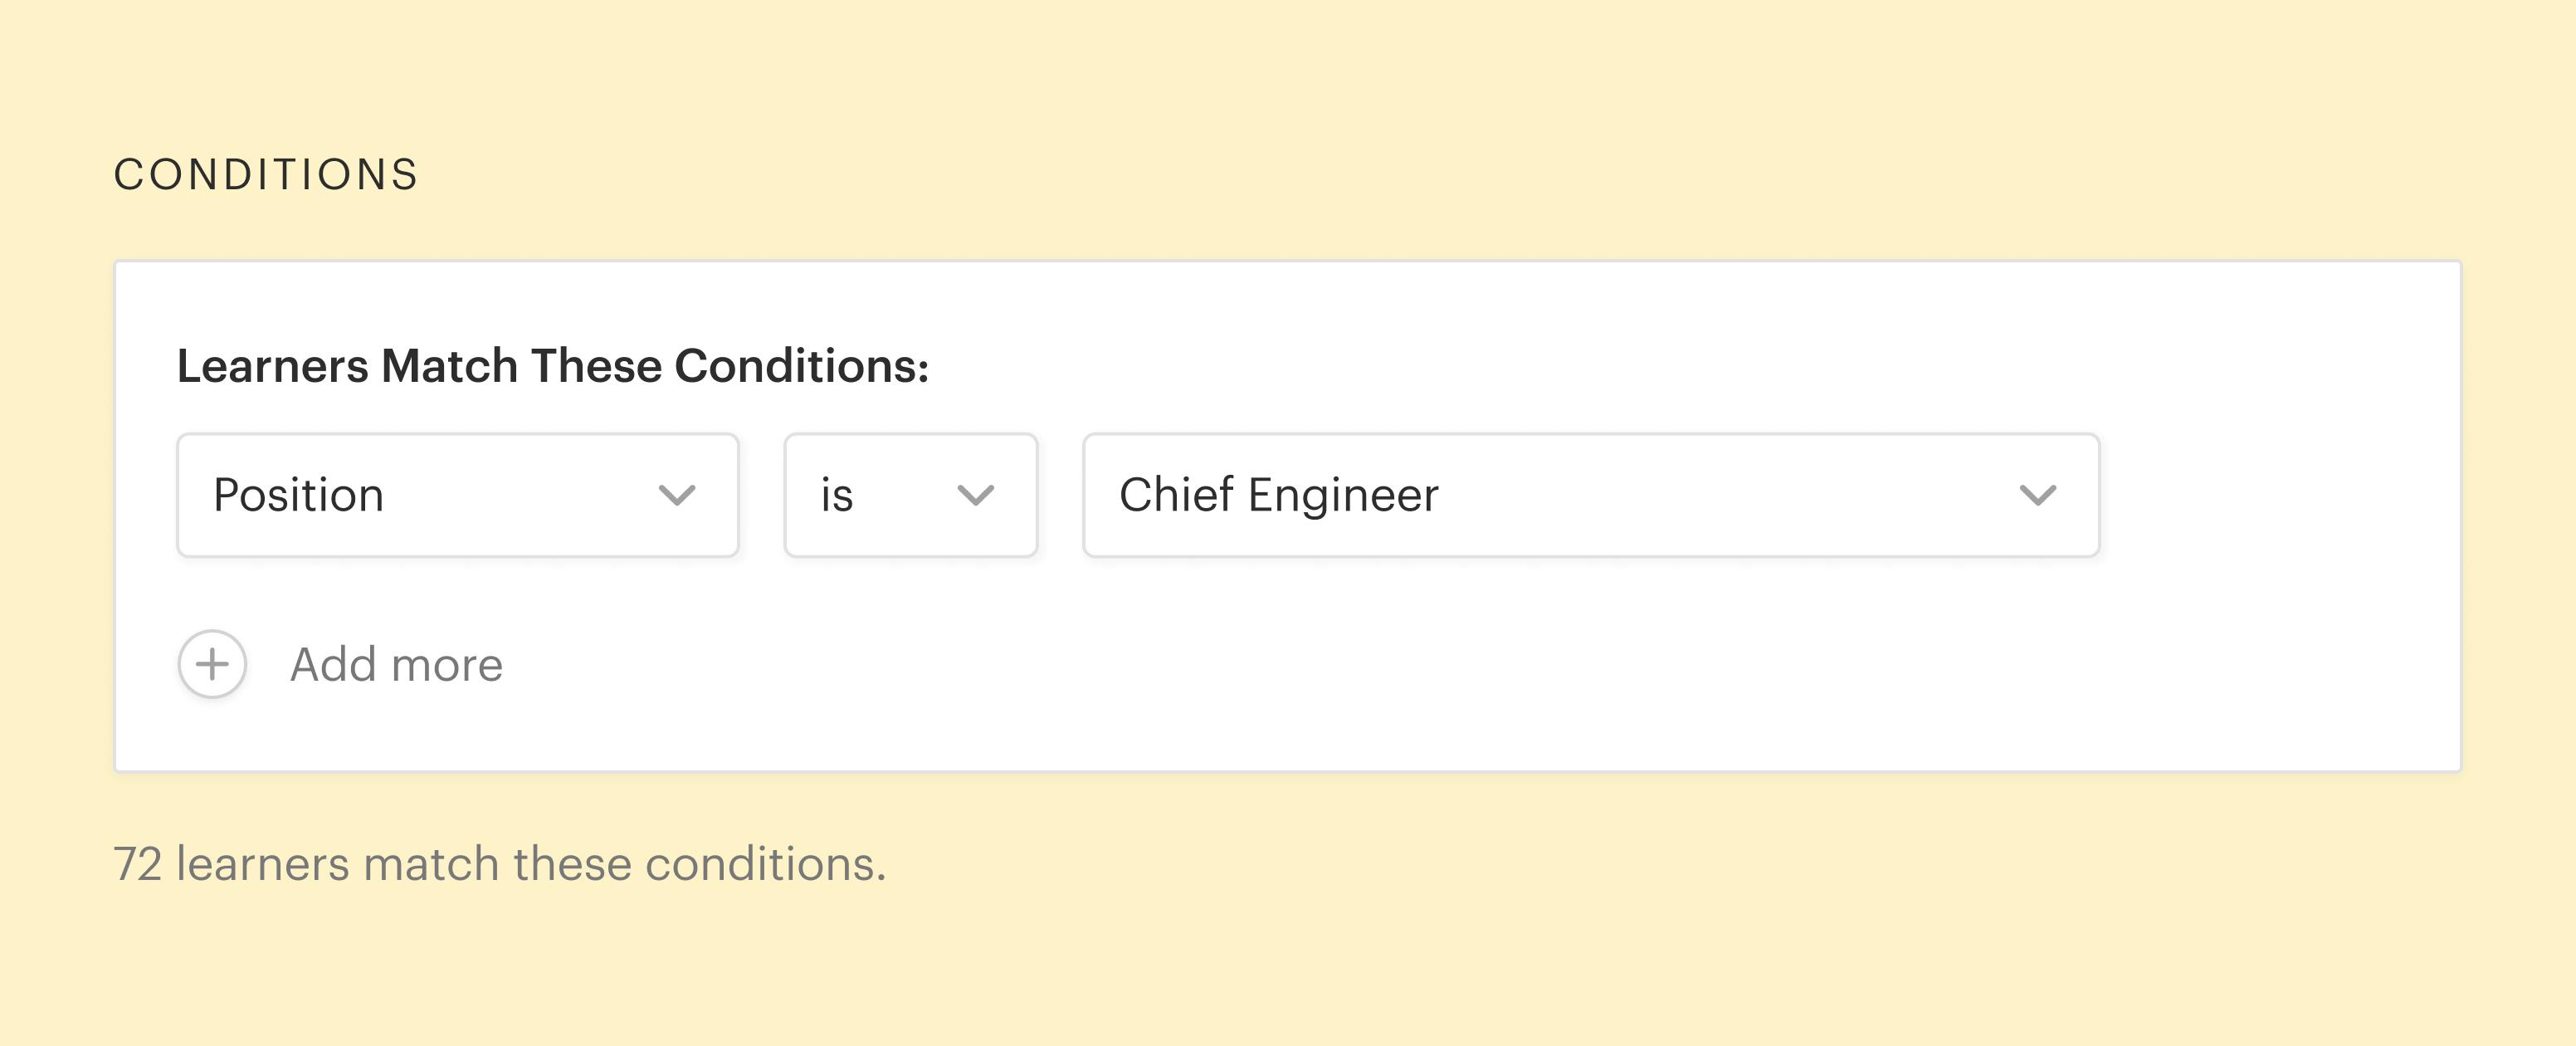
2. From the filter ‘Employee Match These Conditions’, choose which learners should be part of the Group. The default option is ‘Date of birth’ but you can choose from any other including ‘Last name’, ‘Position’, ‘Vessel’ etc. If you wish to add more than one filter, you click ‘+ Add more’.
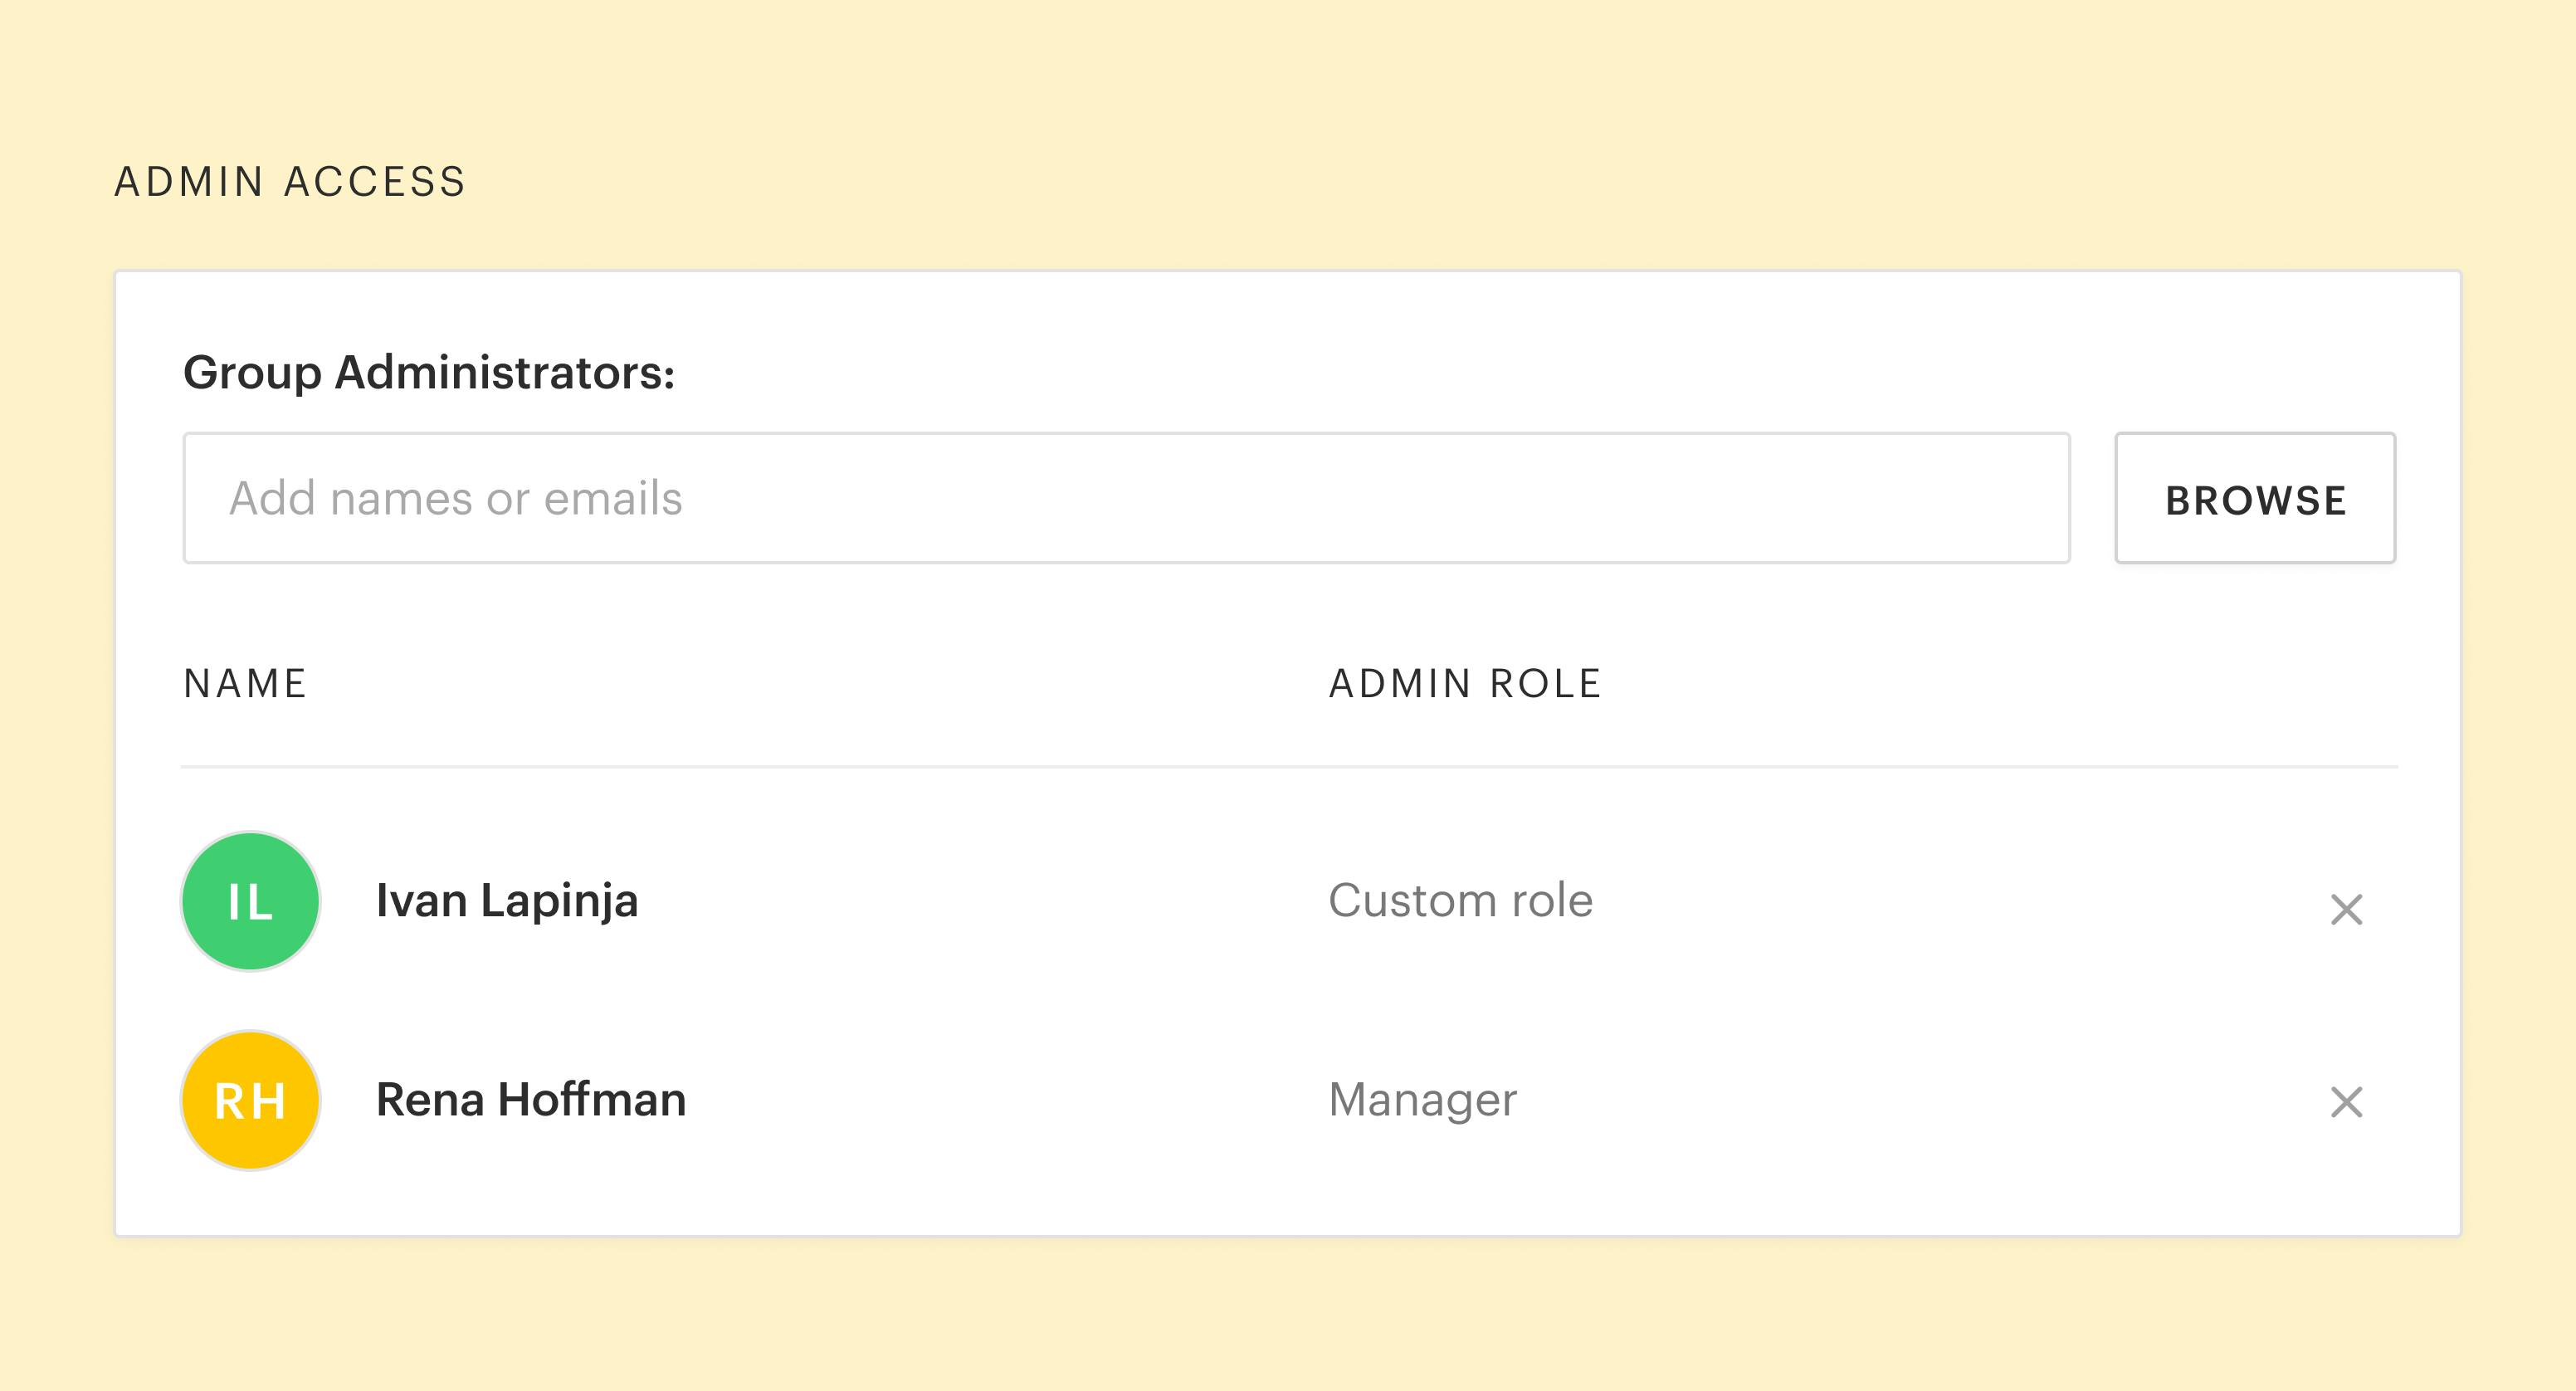
3. Once you have added your filters, you can allocate the role of Group Administrator. To choose a Group Administrator, you can start typing their name, or you can click ‘Browse’ and select them from the list.
4. Don’t forget to click ‘Save Changes’. If you have promoted any users into the role of Group Admin they will get a notification and have increased visibility within their group.
Do let us know if you have any questions on Groups or other features and don’t forget to sign up to receive all our updates on new features, new courses and course providers.